 |
Welcome To Evlithium Best Store For Lithium Iron Phosphate (LiFePO4) Battery |
 |

When embarking on a DIY LiFePO4 battery project, it’s essential to understand the components and their roles thoroughly. A well-prepared battery system ensures safety, efficiency, and long-term reliability. Let’s explore the critical components you’ll need and their significance.

The charger is a crucial component of your LiFePO4 battery system. Proper charging is key to maintaining the health and longevity of the battery. LiFePO4 batteries require chargers designed specifically for them, as these provide constant current and constant voltage to ensure safe and efficient charging.
For a single LiFePO4 cell, the charging voltage should range between 3.4V and 3.65V. For larger battery packs, selecting a charger compatible with the total voltage of the pack is essential. Using the right charger not only optimizes the charging process but also safeguards the battery against overcharging or overheating.

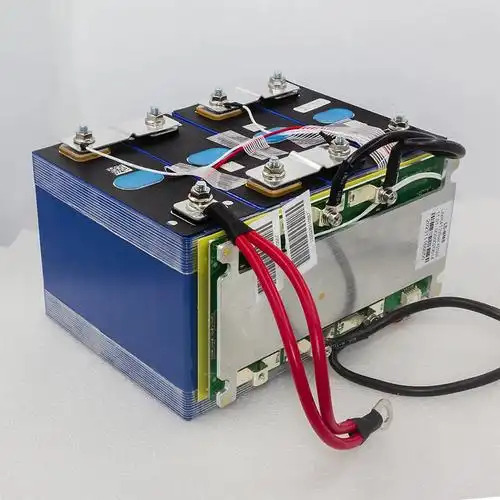
The Battery Management System (BMS) acts as the brain of your LiFePO4 battery. Its primary role is to monitor and manage the performance of each battery cell, ensuring safe and efficient operation.
Key functions of a BMS include:
When selecting a BMS, ensure it is compatible with the voltage and capacity of your battery pack. This guarantees optimal performance and extends the battery’s lifespan.

A battery balancer is another vital component of a DIY LiFePO4 battery system. It ensures that all cells within the battery pack remain balanced in charge, thereby optimizing overall performance.
Without a balancer, significant voltage differences between cells can occur, leading to performance degradation and reduced efficiency. While manual balancing is an option, it is time-consuming and impractical for most users. Automated balancers are highly recommended for maintaining long-term stability.
When choosing a balancer, consider the size and configuration of your battery pack to ensure compatibility.

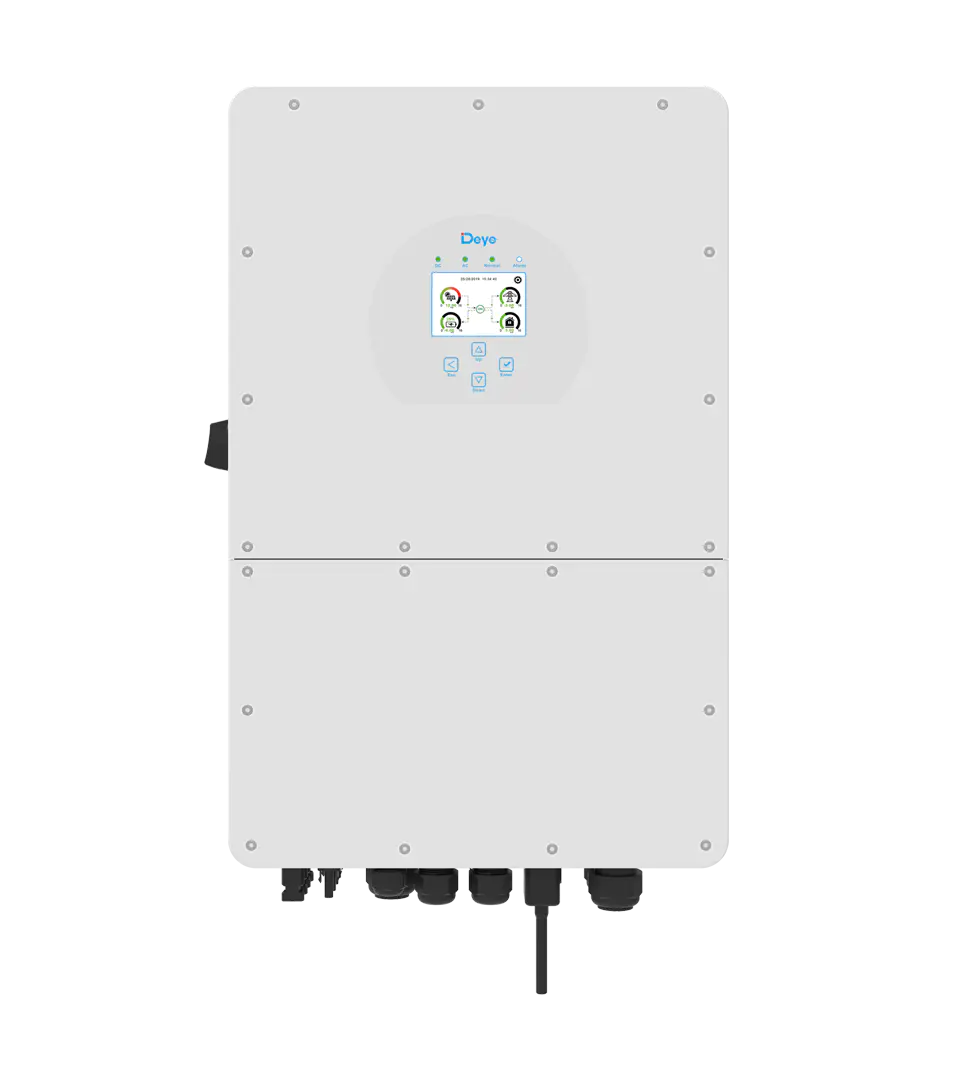
LiFePO4 batteries store energy as direct current (DC), but most household appliances operate on alternating current (AC). An inverter is essential for converting DC to AC, making the stored energy usable.
Modern inverters also enhance energy efficiency, with conversion rates exceeding 90%. This minimizes power loss and ensures optimal use of stored energy. While inverters consume a small amount of electricity during operation, their benefits far outweigh this drawback. Choose an inverter that matches your power requirements and complements your battery pack’s specifications.
Busbars are metal strips used to connect the cells in a LiFePO4 battery pack. Typically made of pure copper or brass, they ensure efficient current flow between the cells.
When purchasing a battery pack, the supplier often includes suitable busbars. However, if you opt to make them yourself, consider the following:
In some cases, cables may replace busbars, especially for custom configurations.
Apart from the main components, you’ll need wires to complete the circuit. Proper planning and a methodical approach are vital for a successful DIY project.
Always work under the guidance of a professional to avoid potential hazards.
Even with expertise, prioritize safety. Double-check your setup, ensure proper insulation, and use high-quality components.
Building a DIY LiFePO4 battery is both rewarding and challenging. With the right preparation, components, and knowledge, you can create a safe and efficient battery system tailored to your needs. Invest time in understanding each component, from chargers and BMS to inverters and busbars, and always prioritize safety to ensure success in your DIY journey.
Edit by paco
All Rights reserved © 2025 Evlithium Limited