 |
Welcome To Evlithium Best Store For Lithium Iron Phosphate (LiFePO4) Battery |
 |

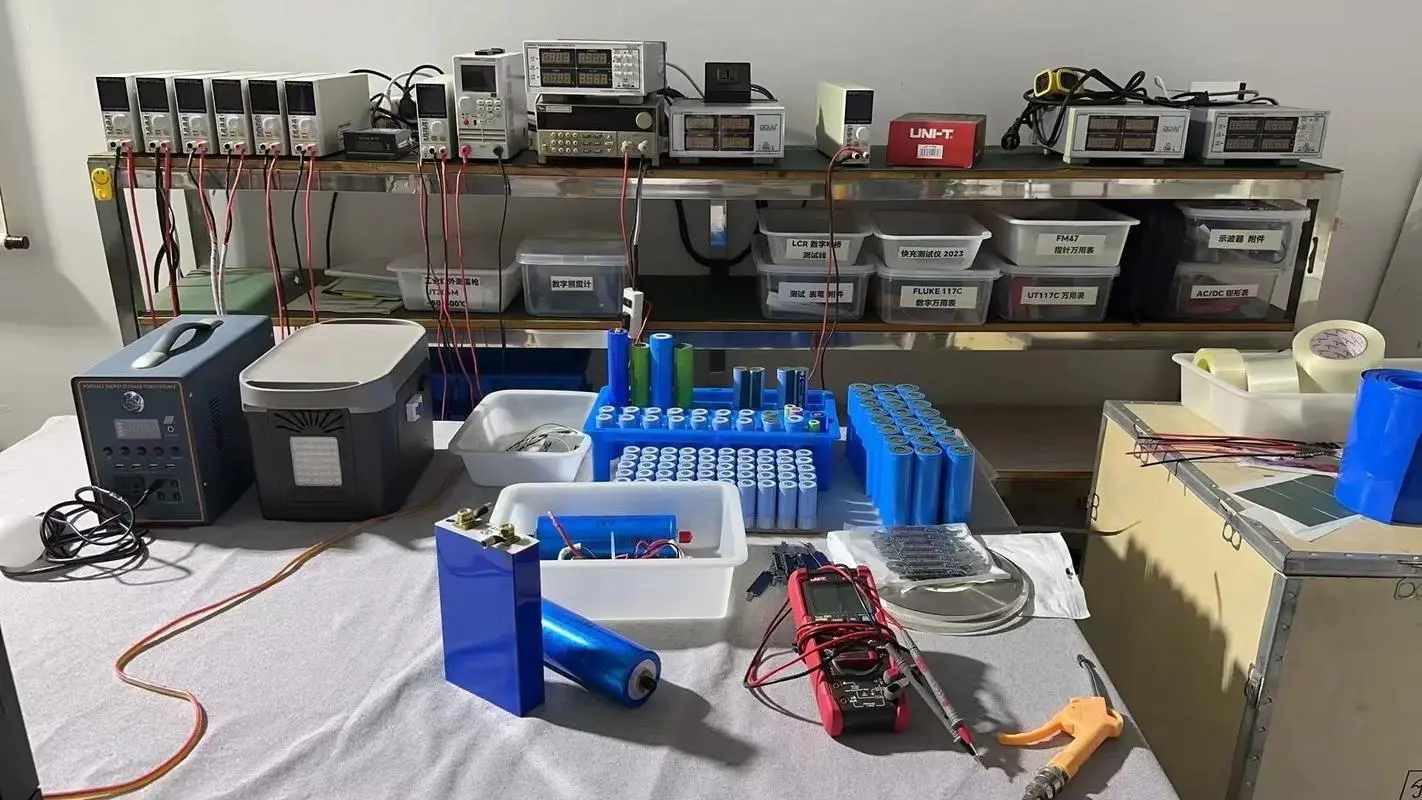
If you’ve just received a shipment of new LiFePO4 cells, congratulations! These lithium iron phosphate batteries are renowned for their high energy density, long cycle life, and excellent safety profile. However, before integrating them into your project, it’s crucial to test them to ensure they are functioning correctly and to detect any defects or issues early on. This guide will walk you through the steps of testing your new LiFePO4 cells and the necessary tools.
The first step after receiving your new LiFePO4 cells is to check their voltage. You’ll need a multimeter, a tool that measures electrical voltage, current, and resistance. Ensure the battery is disconnected from any circuits and set the multimeter to DC voltage. Touch the multimeter's positive (red) lead to the battery’s positive terminal and the negative (black) lead to the negative terminal. The voltage reading should fall within the range specified by the manufacturer.
Next, assess the capacity of your LiFePO4 cells to understand their power storage and longevity for your project. Use a battery capacity tester, which discharges the battery at a controlled rate and measures the energy provided. Follow the tester's instructions to conduct the test accurately.
After checking the voltage and capacity, inspect the cells for any defects or issues. Look for physical damage such as cracks or bulges, which may indicate a damaged cell. Additionally, check for leaks or corrosion around the terminals. If you identify any defects or issues, contact the manufacturer immediately.
To perform these tests, you’ll need the following tools:
Testing your new LiFePO4 cells is an essential step to ensure they are functioning correctly and to identify any potential defects early on. By following the outlined steps and using the appropriate tools, you can ensure that your batteries are ready for use in your project with confidence.
Edit by paco
All Rights reserved © 2025 Evlithium Limited